If you want to improve your queen size storage bed, this article is for you. It can be upgraded with plywood to increase its functionality and appearance greatly. In this article, I’ll show you how to Upgrade Existing Bottom Storage Bed With Plywood Top using a few different materials if desired, and at a cost-effective price for whatever needs you have.
What You Need to Know About Queen-Size Storage Beds
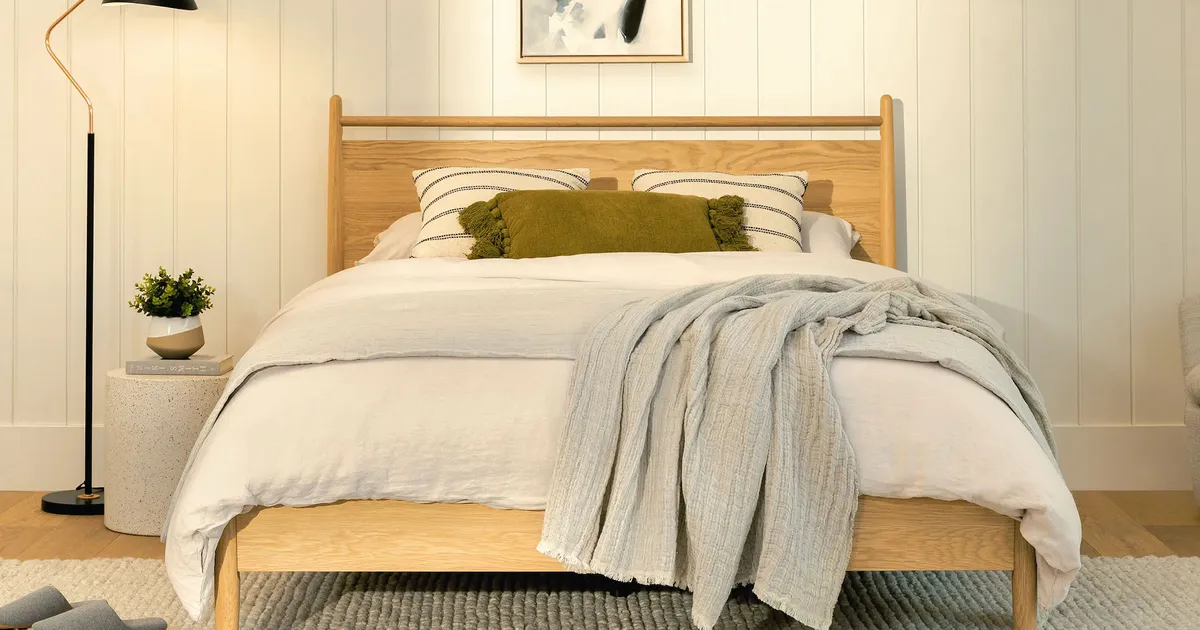
Built with built-in storage drawers or compartments underneath the mattress, a queen size storage bed is perfect for plenty of storage of linens, clothes, and other items. Not only does this design help you make the most of your new bed storage area, but it also keeps your room clutter-free. But the tops of some of these beds are underutilized, many find. Improving the surface with plywood unlocks its possibilities.
Reasons behind upgrading to plywood

1. Enhanced Surface Area
A plywood top to your storage bed adds extra support to your mattress and additional space for decorative items or a bedside lamp. The added surface can be used in small rooms where space is scarce.
2. Better Weight Distribution
Plywood distributes weight better so that the top of your mattress feels more stable and has a more comfortable level of support. But this can prevent your mattress from sagging and extending its life.
3. Increased Structural Integrity
Thicker plywood will make your bed structurally stronger and will be able to support heavier items without warping. Specifically, this is very important if you want to use the storage compartment for bulky objects.
4. Cost-Effective Solution

Upgrading your current bed and its platform bed with plywood is cheaper than a whole new frame. You can update your furniture affordably.
5. Improved Sleep Quality
A solid surface will not pressure points in your joints or body. The 3 plywood adds some support to help your spine align (hopefully improving your comfort).
6. Customization Options
You can easily paint or stain the plywood to match your existing decor (or your mood!), customizing the look of your bed to your heart’s content. It’s a perfect time to show off your own personal style and bring your bedroom together.
7. Durability
Durability and resistance to warping are trademarks of plywood in a bed surface. Properly cared for, it can be a long-lasting addition to your mattress and make a great foundation.
8. Sustainability
Switching from buying something new to upcycling your existing furniture is eco-friendly. It reduces waste and encourages the practice of sustainable living.
Upgrading Materials Needed
To successfully upgrade your queen size storage bed with plywood, you’ll need the following materials:

- ¾ Inch Plywood Sheets: This thickness will give the mattress the necessary support it needs without being too thick or too thin, and it’s easy to come by at most hardware stores.
- Wood Glue: For joint securing and increasing durability. Also, ensure you’re using a good, strong adhesive for wood.
- Drawer Glides: To help your storage drawers run smoothly. If you’re planning to store heavier items, consider heavy-duty options.
- Power Drill: For use in pilot holes or driving screws. The use of a cordless drill will make it easier and more efficient.
- Circular Saw: You can cut the plywood to the correct dimensions. Make sure you have a good sharp blade for a clean cut.
- Sandpaper: This is so they can smooth the plywood edges and surfaces. Grits of all types (coarse to fine) will ensure you achieve the finished polish.
- Edge Banding: It completes the plywood edges to prevent splintering. This is very important from an aesthetics and safety perspective.
- Measuring Tape: For accurate measurements. Check your dimensions double before cutting.
- Material List: Then, make a comprehensive material list so you know you have all you need to get started on the project.
Original Queen-Size Storage Vs. Upgraded with Plywood Top
| Feature | Original Queen-Size Storage Bed | Upgraded with Plywood Top |
|---|---|---|
| Surface Area | Limited to mattress dimensions | Additional flat surface for decor or utility items |
| Weight Distribution | May lead to uneven mattress support | Evenly distributes weight, preventing sagging |
| Structural Integrity | Standard, suitable for regular use | Enhanced strength, supports heavier items |
| Aesthetic Appeal | Predefined by original design | Customizable with paint or stain to match decor |
| Cost | Expensive to replace or upgrade fully | Affordable DIY improvement with plywood |
| Durability | May degrade with heavy use or overloading | Increased longevity with durable plywood |
| Eco-Friendliness | Limited options for sustainability | Upcycling reduces waste and promotes sustainability |
| Customization Options | Restricted to original manufacturer’s design | High flexibility with finish, size, and color |
| Air Circulation | May retain moisture under the mattress | Allows airflow if designed with appropriate spacing |
| Ease of Maintenance | Factory finishes may require special care | Plywood surface is easy to clean and reseal if needed |
How to Upgrade Your Storage Bed Step-by-Step

Step 1: Measure Your Bed Frame
Then, measure the dimensions of your queen-size storage bed. It will also tell you how much plywood you need. Ensure you accurately measure the bed frame’s (Bed Platform’s) length and width. More measurement and careful excuse techniques can help with that.
Step 2: Create a Cut List
Measure accordingly and use what you measure as a cut list for the plywood sheets. This should then contain the dimensions for the top surface and any added support pieces you will need. You could even diagram where the plywood will go over your bed frame.
Step 3: Purchase Plywood
Visit your nearest Home Depot or hardware store and buy your plywood sheets. Choose for plywood without flaws, of high quality.. If you want a special finish, choose pre-finished plywood. If you can’t decide which type to choose, remember to ask for help.
Step 4: Cut the Plywood
Cut the plywood to your cut list with a circular saw. Ensure you have a straight edge to cut their cuts and wear your safety gear. If you are not comfortable cutting it yourself, several small shops will do it for a fee. Risking imprecision is a good way to spend your time.
Step 5: Sand the Edges
After cutting the plywood, smooth the edges with sandpaper. It is important to do this step to get rid of splinters and to get a good polished look. If you will be using a wood edge banding, pay special attention to the plywood edges. It will also help the adhesive bond if the edge is smooth.
Step 6: Apply Edge Banding
If you want a finished appearance to your plywood, then you should edge band the plywood edge. It not only looks nice, but it also saves the edge from damage. Then, you can secure it with an Iron or other edge banding tool.
Step 7: Secure the Plywood
Then, lay the plywood on top of your bed face frames. If you tighten screws, this should hold it in place but use wood glue just to make sure it’s not moving. Drill pilot holes before beginning so that you aren’t splitting the wood, and consider using the pocket holes to add an extra bit of strength for even more strength. But it is important to keep your bed structural to this step, so make sure you do it.
Step 8: Install Drawer Slides
If you’ve got drawers on your storage bed, then install the drawer slides and glides as per the drawn instructions. This will aid in the smooth operation when you want to access your storage compartments. Test out the drawers after you install them and ensure they open and close easily.
Step 9: Final Touches
Then, you can put your mattress on top of the plywood. If you want additional comfort, you could throw a mattress topper under. It is now time for your new queen size storage bed! At the same time, there isn’t a better time to refresh your bedding and add some decorative pillows to give your selection more oomph.
Tips to Upgrade Process Successfully

- Consider Air Circulation: Make sure air circulates properly around your mattress since moisture buildup can turn the mattress into a spacious home for mold. It is very important if you live in a climate with high humidity.
- Use Drawer Boxes: If you plan on heavier items, solid wood drawer boxes will help with additional support. Spread the weight out and prevent sagging in drawers.
- Regular Maintenance: Check the structural integrity of your bed plus the condition of that plywood every so often. If necessary, reapply the wood glue and tighten any loose screws.
- Plan for Guest Rooms: Upgrading a storage bed could be an excellent way to furnish a guest room. If you have a guestroom, you could give them space to store their belongings and make them feel more comfortable. It’s particularly effective during holidays or family occasions.
- Personalize Your Space: If you upgrade, don’t forget to personalize your space. Plants, artwork, and even decor can make your bedroom more inviting.
- Utilize Storage Space Wisely: Use the storage compartments and place belongings in bins or boxes. These containers can then be marked so that you can easily see exactly what you need.
FAQs About Upgrading your Storage Bed with Plywood

Q1: Is it hard to upgrade my queen-size storage bed with plywood?
Upgrading your bed is a simple DIY project, no. But it can be done in a few hours with the right tools and materials. Following the steps listed here will keep this process as simple as possible.
Q2: How thick of plywood should I use?
Typically, you use sq. ¾ inch plywood for good help and durability. For extra strength, especially if you’re storing heavier items, thick plywood may be your better option.
Q3: Am I allowed to paint or stain the plywood?
Can you paint or stain the plywood to match your bedroom decor? But make sure it’s sealed afterward for protection. This will keep the finish and protect it from moisture.
Q4: Will it be affected if I put a plywood top on my mattress?
A properly installed plywood top won’t ruin your mattress’s performance. It will make it better. In addition, it can also help fight sagging and also lengthen the life of your mattress.
Q5: How do I keep the plywood surface?
Keep it clean with a damp cloth, and never use harsh chemicals. Check for any wear and apply sealant often as required. Maintaining the surface clean will also help keep it looking good.
Q6: Can I remove the plywood top if I change my mind?
If you wish to downgrade to the original set, the top is easily removed. This, therefore, allows you to try different configurations.
Q7: What will the plywood last for?
When you take proper care of plywood, it can last a good number of years. If it’s well maintained, it will live longer. Look for wear around the edges and at the junction with the bed frame.
Q8: How do I style my upgraded bed the right way?
Some decoration is to be added, such as decorative pillows, an elegant blanket, or a fashionable bedspread. You can also enhance the overall aesthetic by incorporating plants or artwork nearby. An unstyled bed can become the focal point of your bedroom.
Q9: How do I optimize my bed storage space?
Bins or boxes that fit ‘snugly’ in the drawers will help maximize space in the storage area. You can put items by category and label them to help you locate what you need quickly. Seasonal clothing can be saved by putting them in vacuum bags.
Conclusion
If you want to upgrade your queen size storage bed with plywood, it can actually be very practical and stylish. Not only do you improve the overall appearance of the bed, but you also increase the functionality and durability of it with this super simple DIY project. Using the right materials and some elbow grease, you can have a beautiful, organized space that serves you well.

If you keep your eye on the details, like ensuring proper air movement and choosing high-quality materials, you’ll end up with a bed that looks great and lasts. Remember that a well-thought-out project can translate into a much better living space, significantly more comfortable nights’ sleep, and more orderly days. Happy building!
- Who Invented a Pillow? Evolution and Significance of Pillows - February 24, 2025
- Rattan Sofa Halbrund Perfect For Luxury and Comfort - February 19, 2025
- Sweet Dreams Pillow A Luxurious Sleep Experienc - February 16, 2025
